I have been silent but now I am back with a simple process of how mushrooms are grown. Hope you enjoy and think about mushroom farming as a business.
1.Prepare the substrate
First, wet the straw. Now it’s time to heat the straw in boiling water. Continue boiling for half an hour and then remove the straw and drain it. Next, spread out the straw on a clean surface and let it cool down. then lightly sprinkle the spawn on top.

2.Pack the plastic bags
Pack plastic bags with the straw and spawn. Pack two or three inches of straw into the plastic bag and Repeat this until you’ve almost filled the bag, close the top and poke holes in the bag.
3.Incubation
It’s time for incubation. Keep the growing area at around 78 degrees F. Places the bags on a shelving unit. Remember to stop any threats of natural light getting into the room. Cover windows and cracks. Use a red “darkroom” light when you need to check on your bags. When you start to notice tiny pinhead mushrooms near the air holes in your bag, then you’re ready to move on to the next step.
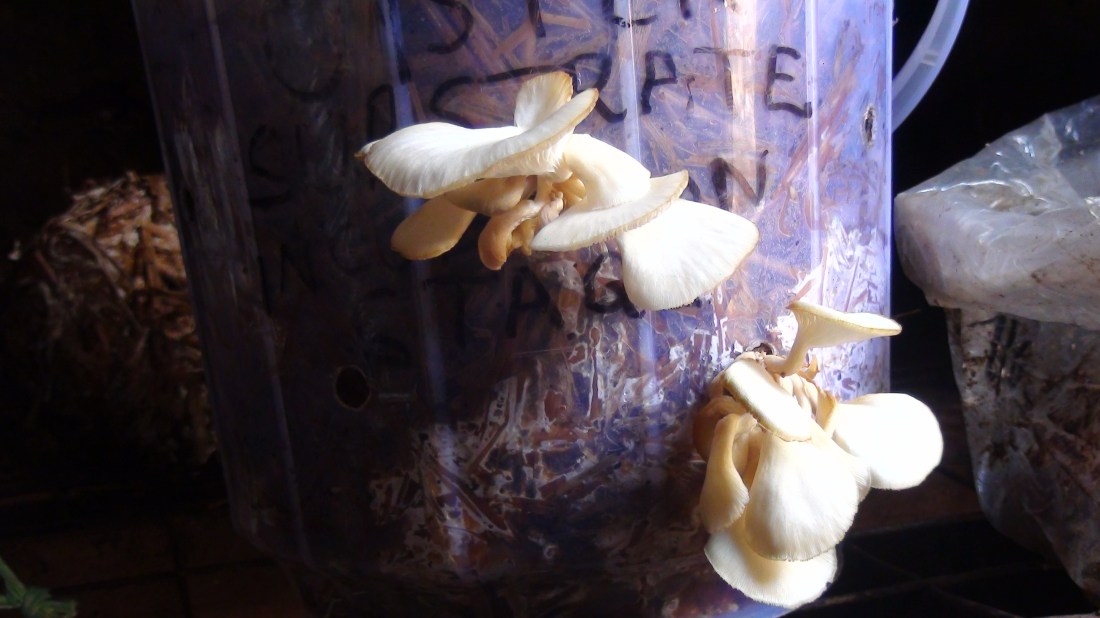
4.Fruiting
For your fruiting room, you need a high level of humidity. The temperature will need to be 65 to 70 degrees F. Unlike the incubation room, you’ll actually need a lot of natural light—at least 12 hours a day. To shock your mycelium, which will force it into fruiting, move the bags to a cool place for a day, such as a basement or other cool place, and then move them back to the fruiting room. Next, cut away the bag, which allows mushroom growth to take place.
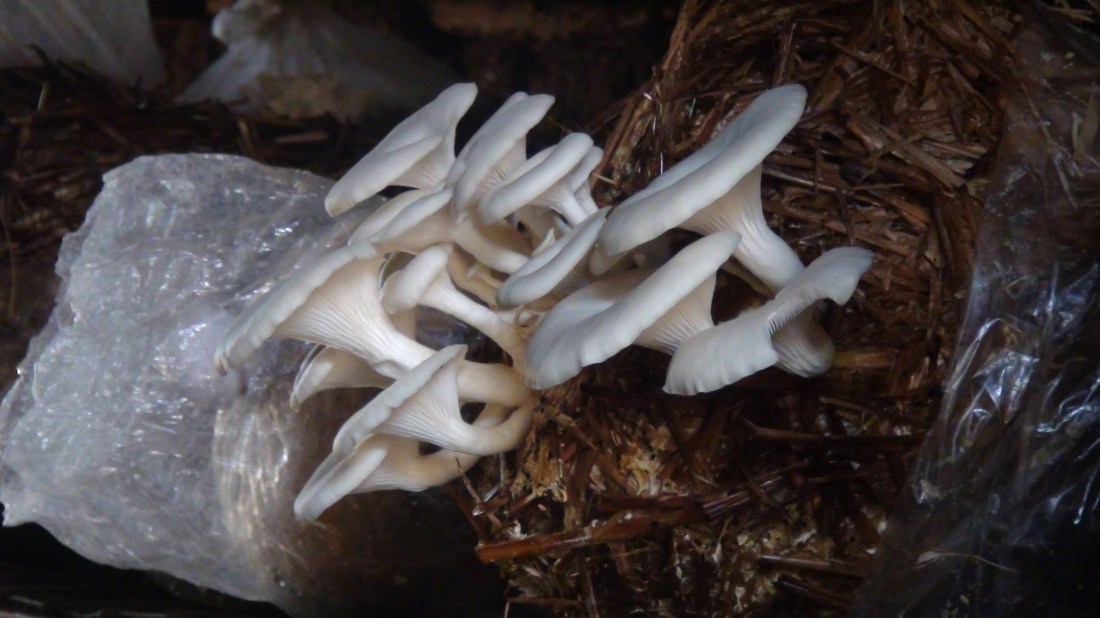
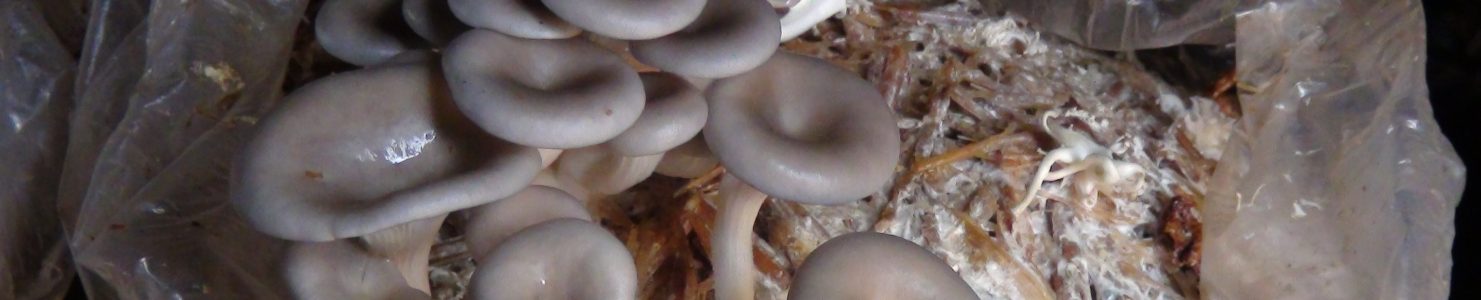
5.Harvest
Just before your mushroom caps are fully uncurled, that’s when it’s time to harvest. To do so, twist the stem off as near to the growing block as you are able to. You’ve now harvested your mushrooms.

It’s very interesting! No seeds needed?Like spores ?
Thank you to share this with us.
LikeLiked by 1 person
you need mushroom seeds also know as Spawn
LikeLike
Very enlightening.
LikeLike
thanks dear..
LikeLike
Thanks for sharing with this knowledge
LikeLike
you are welcome
LikeLike
Very interesting
keep it up💪
LikeLike
Thank you Sis..
LikeLike